
Let’s be real—teaching in the 2020s isn’t what it used to be.
These days, it’s not just about standing in front of a whiteboard and giving your best lecture. It’s about Zoom classes, flipped classrooms, YouTube channels, TikTok-style explainers, and digital lessons that students can access anywhere, anytime.
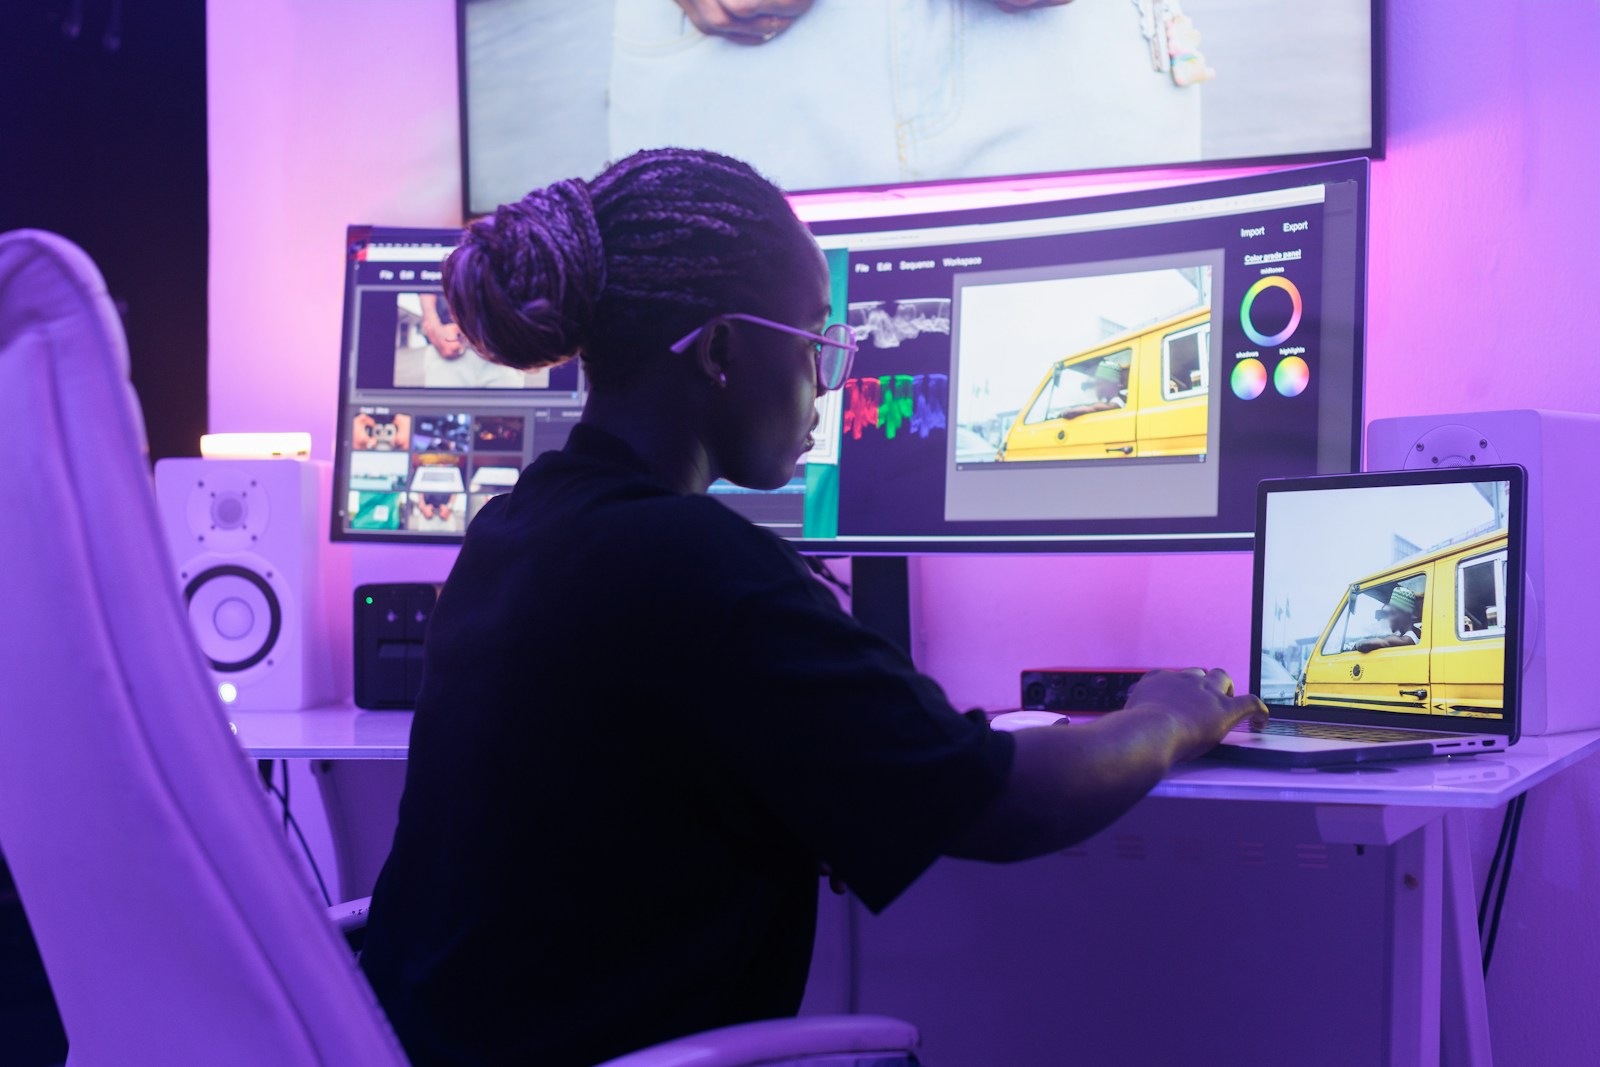
But there’s one big problem: Creating professional-quality video lessons is hard. Most teachers and educators don’t have the time (or the budget) to learn video editing or pay someone else to do it.
So what’s the solution?
In this article, I’ll show you exactly how you, as an educator, can create stunning, professional-level video lessons without hiring an editor or learning complicated software.
And yes—there’s a tool that can make your life 10x easier. I’ll get to that soon.
Let’s dive in.
Why Video Lessons Are Non-Negotiable for Modern Educators
If you’re wondering whether creating video lessons is worth your time, here’s what you should know:
- Students retain more with visuals. According to research by the Journal of Educational Psychology, students retain 95% of information when they watch it in a video, compared to just 10% when reading text.
- Video content boosts engagement. Video keeps learners more focused and engaged, especially Gen Z and Gen Alpha students who grew up on YouTube, TikTok, and Netflix.
- Video is scalable. You can record once and teach hundreds or even thousands of students across different schools, districts, or even continents.
- It helps with flipped learning. A flipped classroom model means students watch lessons at home and do exercises in class. It’s more efficient and proven to improve academic performance.
So yes—you need to be creating video lessons if you want to stay relevant, help more students, and work smarter.
The Traditional Way (And Why It’s Not Practical for Educators)
Here’s what the “standard” process looks like for creating a video lesson:
- Write your script
- Record your voice or camera
- Transfer your footage to a computer
- Edit using professional tools like Adobe Premiere or Final Cut
- Add text overlays, B-roll, animations, and audio
- Export and upload to your learning platform or YouTube
Sounds exhausting, right?
Now imagine doing that every week for your class. Or worse—having to hire a video editor every time you want to upload a new lesson.
That’s where things fall apart.
Most educators don’t have:
- Time to learn professional editing software
- Money to pay a freelance editor
- Energy to handle technical stuff after hours of teaching
So what’s the better, smarter, easier way?
The Smarter Way: Use an Online Video Editor That Works Like Magic
Let’s cut to the chase.
There’s a tool that simplifies this entire video lesson creation process. It’s called InVideo — and it’s an absolute game-changer for educators.
Now, before you roll your eyes thinking this is another sponsored plug, hear me out.
InVideo isn’t just another editing app—it’s a drag-and-drop video editor designed for people who don’t know how to edit videos but still want professional results.
What Makes InVideo Perfect for Educators?
Let’s break down exactly what you can do with this tool:
1. Start with Pre-Made Templates
No idea how to make your lesson look good on camera? No problem.
InVideo gives you access to 5,000+ ready-made templates specifically designed for different types of videos—education, tutorials, explainer videos, announcements, and more.
Just pick a template, plug in your content, and boom—you’re 50% done.
2. Record or Upload Your Voice or Video
Use your laptop webcam, external mic, or even your phone. You can record directly in the tool or upload your footage.
Want to use just voiceover and text? You can do that too.
3. Text-to-Video Magic
This feature is wild.
Just paste your script, and InVideo automatically turns it into a full video with visuals, transitions, and voiceovers. You don’t even have to record your own voice if you don’t want to.
This is perfect for educators who are camera-shy or short on time.
4. Add Quizzes, CTAs, or Interactive Text
Want to quiz your students at the end of the video or point them to a resource? Add on-screen text or interactive elements with a few clicks.
5. Stock Images, Music & B-rolls Built In
Need to show a diagram of the solar system? Or a calm instrumental in the background? InVideo gives you access to millions of stock videos, images, and audio tracks—royalty-free.
This alone saves hours of searching.
6. Subtitles Automatically Generated
No need to transcribe anything manually. Just click a button, and subtitles appear.
This makes your content accessible and helps students follow along better.
7. Export in HD and Upload Anywhere
Once you’re done, you can export in 1080p HD and upload to:
- Google Classroom
- YouTube
- School LMS (like Moodle or Canvas)
- WhatsApp groups
- USB sticks for offline students
A Simple Workflow Example for Busy Educators
Let’s say you’re a high school biology teacher preparing a lesson on the human respiratory system.
Here’s how you’d do it with InVideo:
- Write your lesson script (e.g., in Google Docs)
- Log in to InVideo → Choose “Text to Video”
- Paste your script → Choose an education-themed template
- Let InVideo auto-create your video
- Tweak the visuals or add your voice-over
- Add subtitles and title cards
- Export and share
Total time spent? Around 30–45 minutes, even if you’re new to it.
But What If I’m Not Tech-Savvy?
That’s the beauty of it. InVideo is built for non-techies. You don’t need to watch hours of tutorials or master complex software.
If you can drag, drop, type, and click—you can create professional videos.
How InVideo Saves You Money (A Lot of It)
Hiring a freelance video editor can cost:
- $100–$300 for one 5-minute video
- $800+ for monthly packages
But with InVideo, you get unlimited editing access at a fraction of the cost.
💡 Pro tip: The free version is powerful enough to get started. But to unlock premium templates, longer videos, and full export quality, the paid version is well worth it.
Teachers Who’ve Already Made the Switch
Here are some real-world examples:
🎥 Ms. Lillian (History Teacher)
She creates weekly summary videos for her flipped classroom. She says it cut her content prep time in half.
🎥 Mr. Adjei (STEM Instructor in Ghana)
He uses InVideo to make science animations in Twi and English, which he shares with his students via Telegram.
🎥 Mrs. Brooks (Homeschool Educator)
She teaches elementary math and creates engaging explainer videos using InVideo’s whiteboard-style templates.
It’s not about being a YouTuber. It’s about giving your students the best experience possible.
Final Thoughts: Why You Should Start Today
You don’t need a production team.
You don’t need expensive software.
You don’t need hours of free time.
You just need a solid tool and a willingness to try.
InVideo gives you everything you need to create professional, engaging, and effective video lessons—without burning out or breaking the bank.
So if you’re serious about stepping up your teaching game and reaching your students where they are…
Your students will thank you for it.
Let’s recap:
✅ Easy drag-and-drop interface
✅ 5000+ templates for education
✅ Text-to-video features
✅ AI voiceovers and subtitles
✅ Royalty-free media library
✅ Affordable and educator-friendly
🎓 Teaching is changing. Don’t get left behind.
Use the right tools. Stay ahead. Make learning unforgettable.